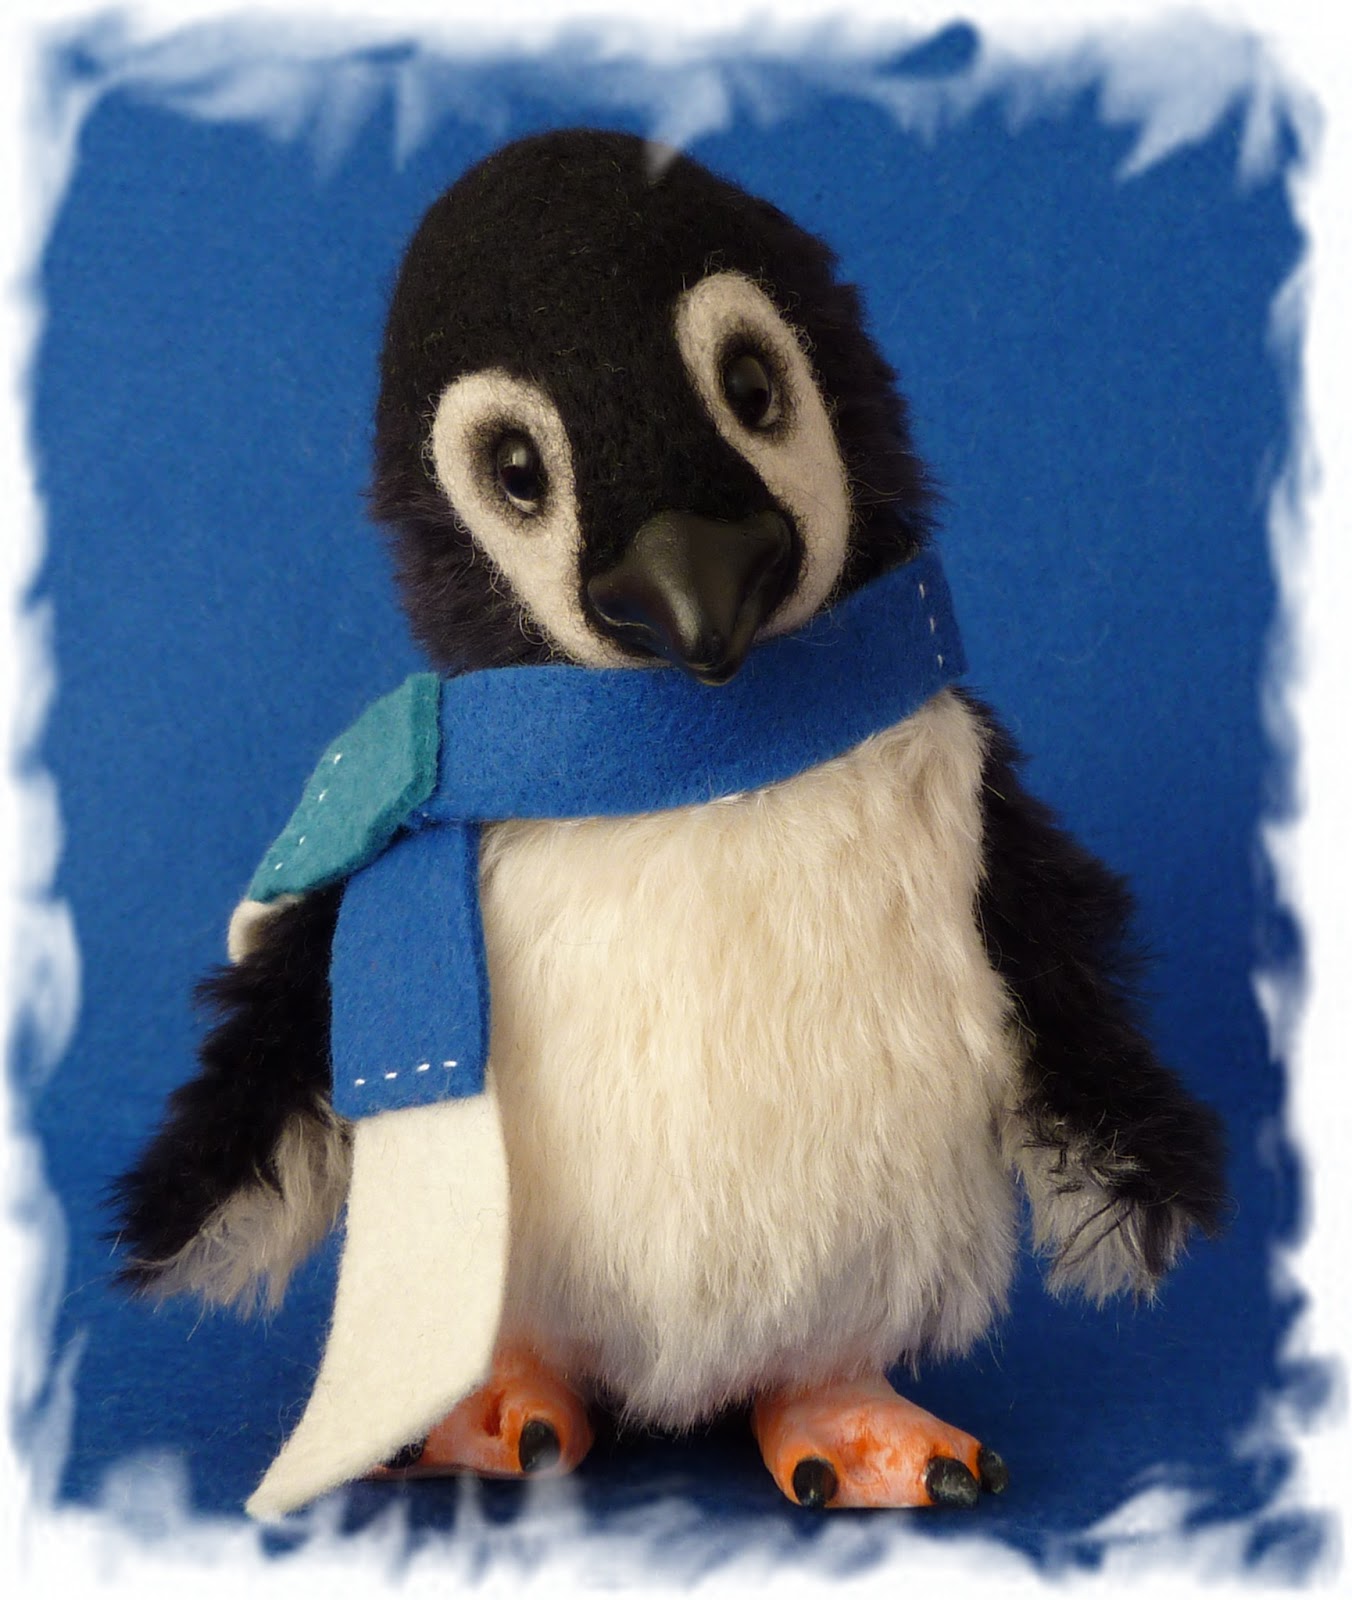
As I designed my new pattern for a penguin this month, I devised a way to make and attach polymer clay feet. I wanted to make them of that material to give a more realistic look. I don't know if I found an original way to do it, or if it is already widely known. Be as it may, as it succeeded, I will share my 'experiment' here on the blog.
POLYMER CLAY PENGUIN FEET - TUTORIAL
Step 1
What you need:
-
Polymer clay (I use Fimo)
-
Two cotter pins, four disks.
The pin and disks sizes depend on the size of your animal. I used 1 1/4 inches (35mm) cotter pins, and 18mm disks. I would suggest to use the longest cotter pin you have, as a part of its length needs to be stuck into the clay.
-
Strong glue
-
Acrylic paint
-
Semi-gloss varnish, suitable for Fimo
-
A brush
-
Toothpicks
Step 2
Take two chunks from your clay batch, and roll them into identically sized balls. Again, the quantity depends on the size you want your feet to be. You might need to add or subtract material as you work.
Step 3
Insert the two cotter pins into each one of the Fimo balls.
Step 4
With a toothpick, roll some of the material from the edge of the ball, towards the center where the pin is. Smooth it to have an even surface. The head of your cotter pin must be securely embedded into the Fimo ball.
Step 5
Insert a disk in the pin and push it so that it is against the clay.
Step 6
Start sculpting your shape.
The disk should give you the dimension of the leg diameter.
As for the shaping goes, there are no rules, shape the feet as you like!
Some pictures of my sculpting process:
I mostly do my sculpting with my hands and with the aid of a toothpick. I gently roll it on the clay surface to make it even.
Remember to check that the two feet are evenly sized, and most of all, that they have the same height from the cotter pin to the base!
Step 7
When you have done with your sculpting, remove the disks.
Now it is baking time! Bake your two feet following the clay instructions.
Here is a foot already baked!
Step 8
Sand both feet with fine sandpaper, then wash and dry them.
Step 9
Now take the glue, put some around the disks hole, and insert the disks back on your legs. Let it dry.
Step 10
When the glue is dry you can proceed to paint and shade your feet. Again, here it is a matter of preference.
In this instance I have
-applied very little white acrylic with a dry brush, for a very subtle effect, on the whole feet surface
-painted the nails with three layers of black acrylic, then slightly shaded them with white for a 'worn' look
-covered with semigloss varnish, to protect the colours
I let the feet dry upside down with the pins inserted on a needle felting sponge.
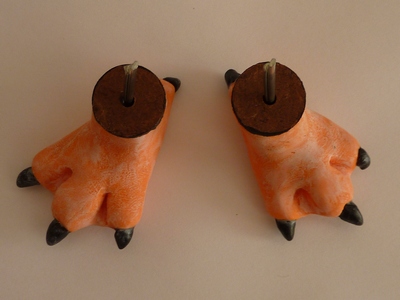
Here is the end result.
I have painted the rim of the cotter pins with black, as the fur of the area where the legs will go is black, and it will blend better.
Step 11
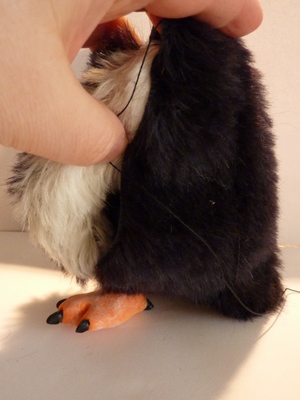
Now your feet are ready to be attached to the body. You can do it as you would with any other limb.
Here is my next penguin...well, only half of him yet... now, he has feet!